PoTD mod
“Back from the Dead”

Yes, this has been done before, searching online I’ve found stuff from 5+ years ago, with the figures lit solid & also tied into the 1-2-3-4 lights. You can also buy an assembled pinball mod.
I wanted to make my mod flash with the 1-2-3-4 lights above the path and look like it came in the game.
As with previous mods, I like it to be completely removable, which means no soldering directly to lamp sockets. Which makes it harder, but I think it’s worth the effort. That being said, this is one of the most fiddly mods I ever put on a game. I hot glued figures to the plexiglass board I bought, and the figures would fall off installing it. Or I installed it and one of the green LEDs didn’t work. But - I got it running & even glued on some tiny skulls I made from beads and painted green.
Looks Cool. (See Video link at the bottom)
If you don’t have the patience, Then buy one for $200+. I decided to buy all the stuff and make one myself. I probably spent almost as much if you include my time. Luckily I had most of the hardware in my pinball repair stash.
Not much out there on how to actually wire it all up, but it’s not that hard from an electronics POV:
Ground is straight through to all 3 connectors. Then put a diode and Resistor in series between the PoTD Connector and the other two connectors with the band pointing towards your LEDs. Obviously the two existing connectors are just wired 1:1 Make sure you get the grounds ‘lined up’ when you plug it together. Cut the cable tie behind the backboard PoTD lights and then remove the Z-connector, you won’t need it as the breadboard replaces it’s function.
COL/ROW
PoTD MOD — Original Input (OI) — Original Output (OO)
ROW 9 GND — GND — GND
COL 4 (diode) |<— ~~~~ (220 ohm R) — OI — OO
COL 5 (diode) |<— ~~~~ (220 ohm R) — OI — OO
COL 6 (diode) |<— ~~~~ (220 ohm R) — OI — OO
COL 7 (diode) |<— ~~~~ (220 ohm R) — OI — OO
COL 5 (diode) |<— ~~~~ (220 ohm R) — OI — OO
COL 6 (diode) |<— ~~~~ (220 ohm R) — OI — OO
COL 7 (diode) |<— ~~~~ (220 ohm R) — OI — OO
Connect the 4 LEDs to two wires each, the Cathode (-) is the short leg and connects to ROW/GND. The Anode (+) is the long leg and goes to the COL /Drive. That should work.
All the GND wires can be bunched together and wired to the same Pin on the connector.
*You may need a different resistor value depending on your LED type. If in doubt, google is your friend and use an online calculator. You NEED a current limiting Resistor. 6v is probably a good nominal voltage to use, the diode drops around 0.7v. LED desired current is probably around 20mA, but if you have specific info for your LEDs then use that.
Warning: I have an LoTR LE so some of your wiring colors may be different. So I’ll give both.
On my LoTR LE to POTD bulbs:
Row (GND)
9 BR/BLK (Brown with Black Stripe)
Column (18v)
4 U.L. (Lamp #60)- King - YEL/BLK
5 U.R. (Lamp #61)- Warrior - Grey/BLK
6 L.L. (Lamp #62) Warrior - YEL/BLU
7 L.R. (Lamp #63) Warrior - YEL/VIO
On an original LoTR to POTD bulbs:
Row (GND)
9 Red/White (Red with White Stripe)
Column (18v)
4 U.L. (Lamp #60) - King - YEL/BLK
5 U.R. (Lamp #61) - Warrior - YEL/GRN
6 L.L. (Lamp #62) - Warrior - YEL/BLU
7 L.R. (Lamp #63) - Warrior - YEL/VIO
So here’s a parts list:
2 AOME “Army of the Dead” sets. You’ll have two extras if you can’t find singles.
I paid $15 for three used figures and $45 for a NIB set. Total: $60 shipped.
1 x Plastic to mount them on above the ball path. One option is from Pinbits.com and costs $24. A cool option with printed skulls and other options is from Robert (pixmanohio on Pinside.com). $49.50
4 x Light Green LEDs. I used bare 5mm and like them better than UV or another color. Had them on hand.
3 x .156” 5-way headers with square pins. Buy a 15-way and cut it up, if that’s cheaper. Buy the kind with the ‘locking pins’ on one side. Had them.
1 x .156” 5-way connector and crimp pins. I prefer this to the ‘insulation displacement’ type of connector. This is where the LED wires from your mod goes. Had it.
1 x .156” 5-way connector and crimp pins. I prefer this to the ‘insulation displacement’ type of connector. This is where the LED wires from your mod goes. Had it.
4 x 1n4004 diodes. I put these in as I wasn’t connecting directly to the controlled lights with resistors in series with each LED. Had them.
4 x 220 ohm 1/4W resistors. Had them.
Some wire. I cut up an old Cat5 ethernet cable, which is handy as you need 4 twisted pairs and they are already paired and color coded for you.
Some .156” breadboard stuff. Easiest has 1:1 tracks running between holes. Had that, too.
Longer screws and two long thin posts. Had them. You can get the posts and screws as part of a Pinbits kit, if you buy there.
So basically, all I bought was the figures and clear plastic mounting base. Cost: $109.50
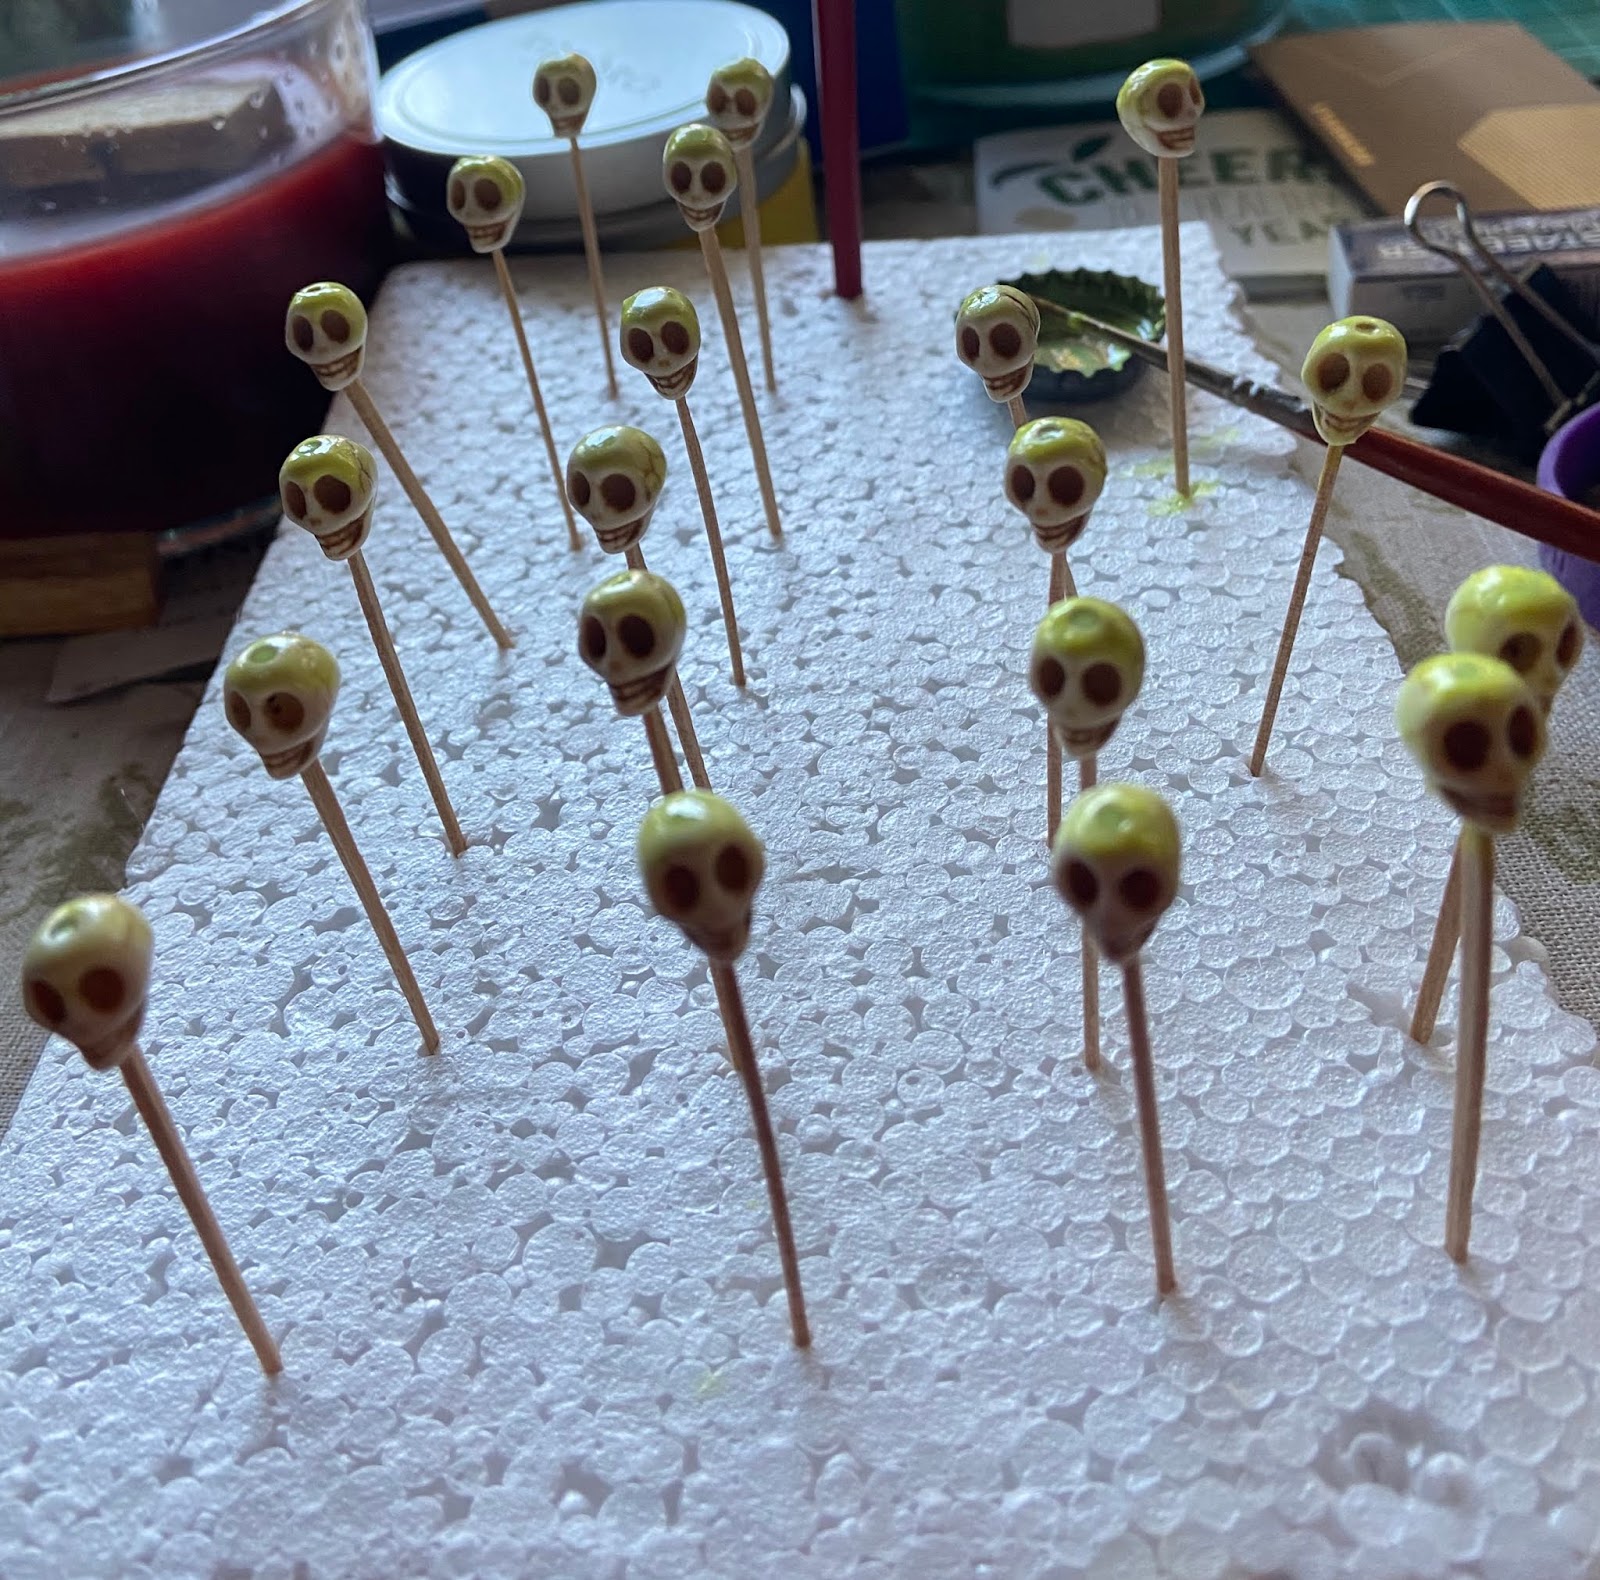
You only need to drill out the ‘King’ figure for the LED, as he had a solid base. The others have cloaks where they can just sit over the LEDs. I superglued the swords, pikes etc to the figures and hot-glued the figures to the clear plastic. I used hot glue in case I want to change LEDs or have a wiring problem in future. I wish I hadn't used superglue to glue some greenish skulls I made from beads to hide the wiring. It ‘fogs’ the clear plastic with a white haze. . Every fingerprint is ‘developed’ by the superglue and there isn’t a good solution to remove them.
Videos of my mod in action and the ColorDMD LED Display. Which I think works really well on this game.
https://youtu.be/lXGGQ9i4xj0
https://youtu.be/iuYns03aS_k